Downloading images
-
Once imaging is ready for you to view/download you will receive an email from us with the subject: Study notification for [STUDY_ID] Received from [Sending Site]
-
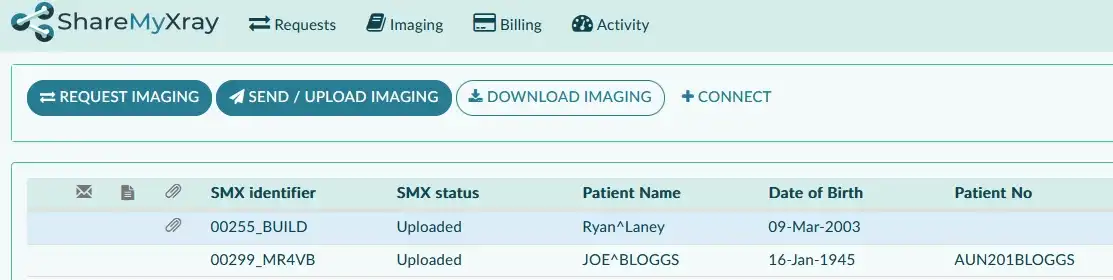
Navigate to the Imaging page
-
Select the images you wish to download but clicking the relevant rows in the imaging table
- Note. You can select multiple rows at one time
-
Click the Download Imaging button and follow through the prompts, your images will then begin downloading and appear in your computer's downloads folder as SMX-study.zip
Viewing Images - Windows PCs
The file downloaded in the steps above comes as a compressed Zip file that will need to be unzipped.
-
In all versions of Windows, Right-click the file and select Extract All…
- Alternatively, you can click into the folder and then click the run file, at which point you'll be asked to extract the files, Click Extract all
-
It will ask where you want your files to be put, you can change this by using the ‘Browse…‘ button.
-
Click ‘Extract‘ to unzip the files and navigate to the location you extracted them to.
-
To run the included viewer, open the newly created folder and click run.
-
The raw images are in the sub-folder IMAGES, please use this folder if you wish to import the images into PACS or your own viewer

Viewing Images - Mac/OSX
The file downloaded in the steps above comes as a compressed Zip file that will need to be unzipped.
-
In all versions of MacOS, double click the zip file and it will use the built in extraction tool.
-
The extracted folder will appear above the zip file
-
The images are grouped by Study ID and the raw images are below this
-
Use this with your favourite viewer or if you need a viewer look for DICOM viewer on the App Store

Importing to PACS
If you want to import the images into PACS, see here